2.3. فرایند نصب در سیستم عامل Ubuntu Linux
2.3.1. دانلود و نصب نرم افزار QGIS
ترمیتال سیستم را باز کنید و مطابق زیر تایپ کنید:
sudo apt-get update
یوزر وپسورد خود را وارد کنید:
در ترمینال تایپ کنید:
sudo apt-get install qgis python-matplotlib python-scipy
Press Enter and wait until the software is downloaded and installed.
هم اکنو,نرم افزار QGIS 2 نصب شده است.
2.3.2. فرایند نصب افزونه Semi-Automatic Classification
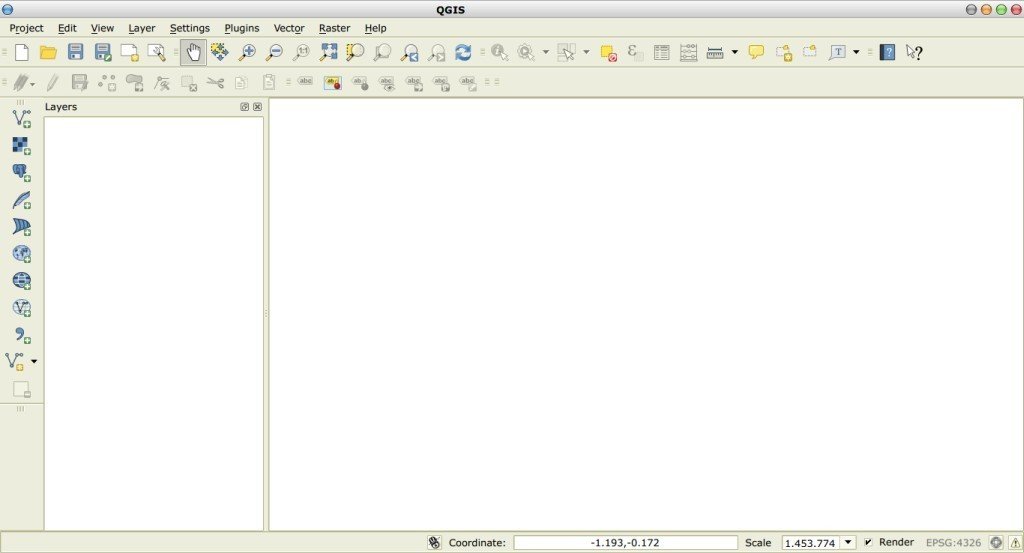
QGIS 2 را اجرا کنید;
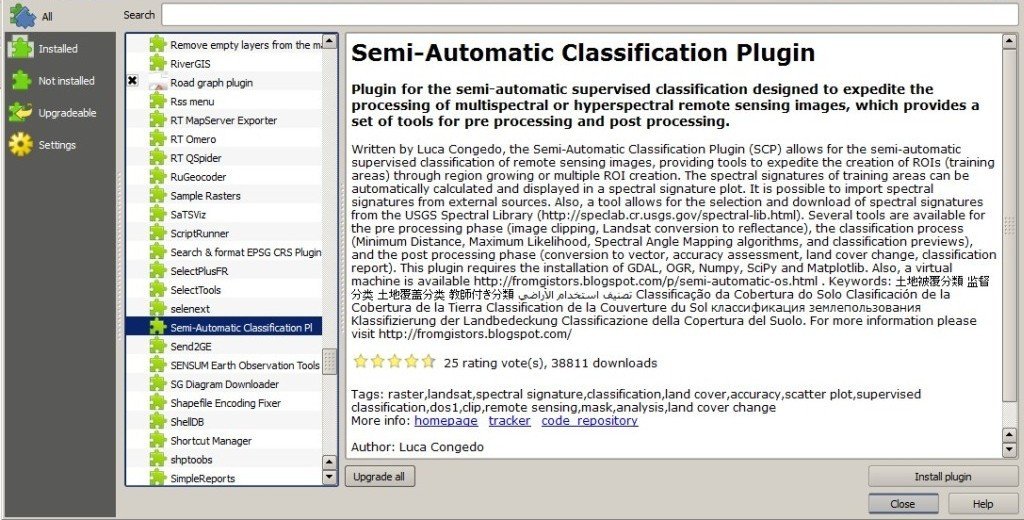
از منوی اصلی مسیر زیر را پیمایش کنید
Plugins>Manage and Install Plugins;

از منوی
All, افزونه Semi-Automatic Classification را انتخاب کنید سپس آ را “نصب” نمایید;TIP: in case of issues or an offline installation is required see جگونه افزونه را به صورت خودکار نصب کنیم؟ and How to install the plugin from the official SCP repository?.
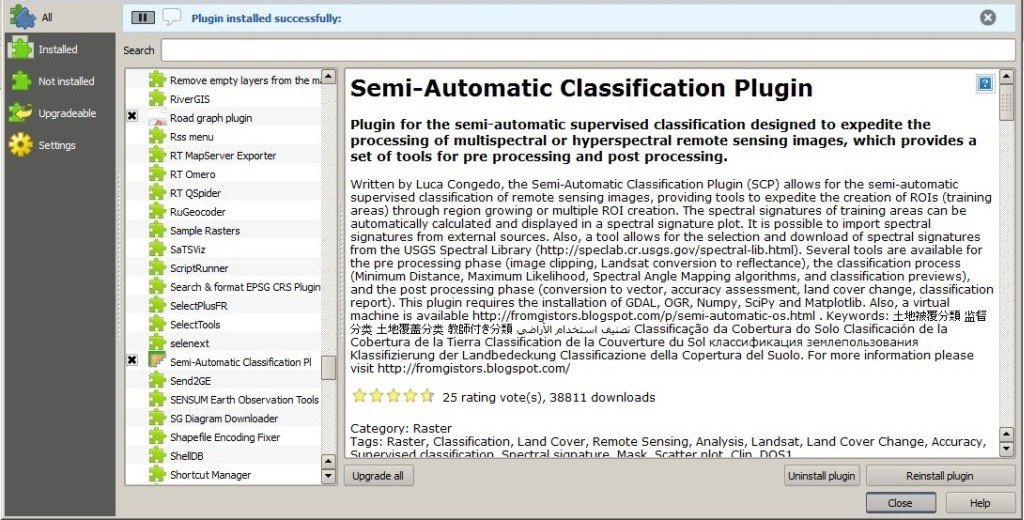
افزونه به طور خودکار فعال میشود،برای اینکه مطمئن شود افزونه نصب شده است آن را در منوی “نصب شده ها”چک کنید(اجرا کردن دوباره و ری استارت کردن نرم افزار برای تکمیل فرایند نصب افزونه ضروری است);
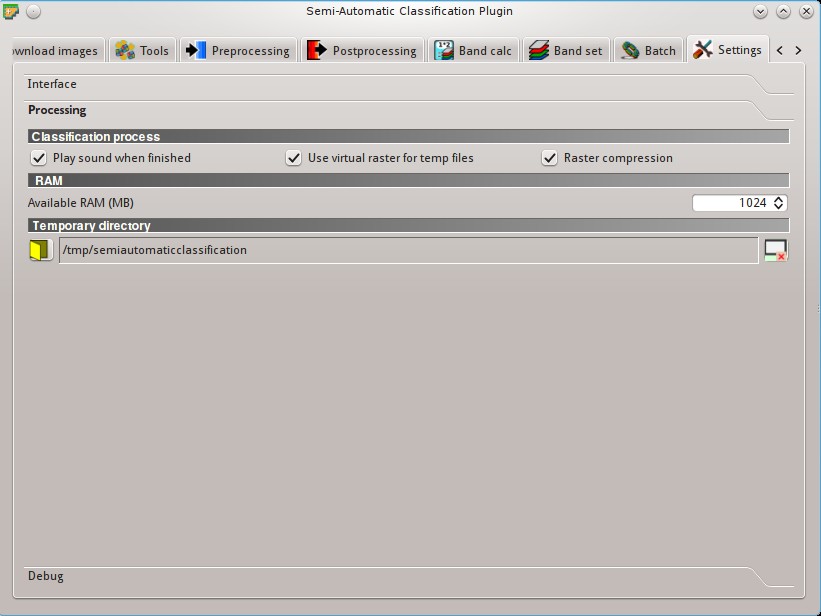
2.3.3. تنظیمات افزونه
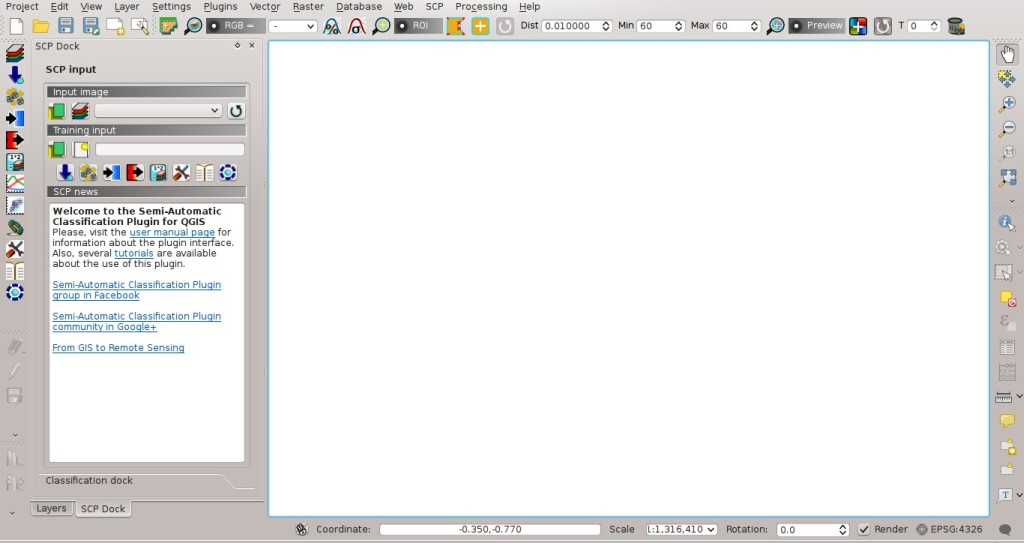
Now, the Semi-Automatic Classification Plugin is installed and a dock and a toolbar should be added to QGIS. Also, a SCP menu is available in the Menu Bar of QGIS. It is possible to move the SCP Tools and the dock according to your needs, as in the following image.
The configuration of available RAM is recommended in order to reduce the processing time.
From the SCP menu select 
Settings > Processing .
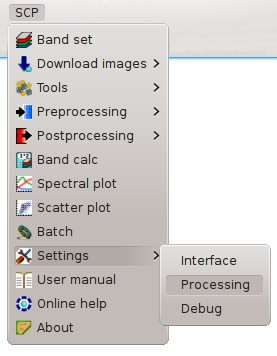
در پنجره “تنظیمات” میزان”حافظه در دسترس(MB)” را با مقدار نصف حافطه سیستم خود تنظیم کنید.بطور مثال اگر حافظه شما 2گیگابایت است ،انرا برابر1024 مگابات تنظیم کنید.